Wednesday, April 4, 2012

Braised Short Ribs and Shanks, Yum!


Well it is cold and rainy here, what could be better than a meal of braised beef?  We have some short ribs and some beef shanks in the freezer.  These are some of the last bits of the quarter cow we bought last year, and today seemed like the perfect day to cook them.


I learned this method of braising at Röti, a restaurant that was in the financial district of San Francisco for many years.  I think it was closed and re-branded in 98 or 99. 
Röti was a pretty special place, we had a great team, really good food and wonderful atmosphere.  
Anyway, on to the method:


I haven't ever written down this recipe as it will change depending on the amount of beef that you are braising.  Remember we are looking for the tough meat that is right next tithe bone.  The stuff with a bunch of flavor.
I start out by seasoning the pieces of meat liberally with kosher salt and fresh ground pepper. 


Next dredge each piece in flour.  Since my family is gluten-free, I use rice flour, in the past all purpose flour was the choice.  


Once the pieces have been seasoned and dredged, it is time to sear it.
When I first learned how to braise, we used a minimum of oil in this process, at Röti we nearly deep fried it!
We used so much oil I was initially repulsed, but the final product won me over.  I swear by it now.
In a sauté pan with high sides pour in about 1.5"-2" of oil.  Really, I mean it.  I use my EV/canola blend.  Bring it to about 375F or until when you drop in a small pinch of flour it bubbles in the oil.
Place the dredged meat into the oil carefully, remember, there is a ton of oil in the pan and it's hot.  If your not careful you could easily burn yourself.  


Let the meat roll in there until it is really browned like this.


Turn the shanks/short ribs over and repeat as you did on the first side.  When the second side is equally browned, remove them from the oils and set aside while you continue the process with all of your remaining pieces.


Line the bottom of the pan with a yellow onion diced large, a couple carrots and a few cloves of garlic that you have crushed with the side of your knife.


The liquid I use for this preparation I use beef stock and chicken stock in equal proportions.  


Traditionally this recipe uses only beef stock but I use the mixture so that I have a finished product that is not as heavy as the all beef stock version.


Pour in your stock.  I also add some whole black pepper and bay leaves.


Cover the pan tightly with foil and place it in a 300F oven.  The braising process should take about 3-4 hours or until the shanks/short ribs are very tender.
Once you have achieved a tender product, pull the meat from the pan and pour off (or ladle) 2 quarts of the braising liquid into a sauce pan and reduce on medium to high heat.


Return the meat to the pan to hold it and allow it to stay moist while you reduce the braising liquid to make your sauce.


Now that the sauce has been reduced by at least half, place the meat onto a platter (or on individual plates if you are not serving family style) and pour your sauce into a bowl with a small ladle.


It's dinner time!  Yummy stuff and well worth the effort and time.

Monday, April 2, 2012

Creamy Polenta


Polenta is an interesting dish.  I have never been to Italy, but since corn is a North American native plant, I have to think that it was probably brought back by the likes of C. Columbus and crew.  Not sure about that but it makes sense.
As it turns out, polenta in it's current form, corn, began in the 15th or 16th century.  Prior to that polenta was a rough grind of primarily buckwheat.  Who knew!?!
I'd like to try that type as it is allegedly much more nutritious than the corn version.  So I'm on the look out for buckwheat ground for polenta.  This is also important as buckwheat has a very low gluten content, thus making it ok for my family.
But for today we are making polenta from corn.


Here is my recipe (I will apologize in advance for some of the measurements as the only things that I really measure when making polenta is the grain and the liquid depending on what texture I am after for the current preparation's goal):
1 Cup polenta
1 qt chicken stock
2 tsp kosher salt
About 4 medium to small garlic cloves (minced)
2 oz butter
A large handful of finely grated Pecorino Romano 
And finally, a little bit of patience.


I start with the chicken stock and garlic in a 2-3 qt sauce pot.


Bring it to a boil and add the polenta.  


It is important at this time to stir your polenta with a wire whip until it starts to pick up some of the liquid.  


This usually takes a minute or two.
Once the polenta is starting to thicken, turn the heat down to medium or even a bit lower.  Good polenta is not made in a hurry.  That said, it doesn't take that long either.
As the polenta continues to get thicker in consistency, it is important to continue to stir it occasionally, but also watch the level of your burner.  This stuff is like edible lava.  It bubbles and pops, and sometimes let's loose some droplets that will be super hot and stick to you like glue.  Lower temps on your burner will minimize this possibility.


It is also important that you work the wire whip into the corners of the pan so that the polenta does not gather there and solidify.
Once the liquid has been all but absorbed, your preparation will look something like this.


At this time I usually dip a spoon in and taste it for flavor and consistency.  Please be careful as the lava component of this dish is still really hot!  Nothing could be worse, for me any way, to prepare something this good and have my taste buds fried for the night.
As this dish continues to cook, the texture will become softer to a certain extent.  Once you reach the "neighborhood" of the final desired product, it is time for the final flavorings agents!
This is the good stuff that makes polenta so good.
I add, for a recipe of this size 2 oz of butter (4T if your measuring from the stick of butter) 


and a huge handful of finely grated Pecorino Romano.  I am a big fan of Pecorino Romano as I feel it is much more versatile than Parmesan.  I also like the flavor of it more than Parmesan.


Whip these into your polenta and hold it for service.


This recipe makes a creamy polenta.  To make yours more firm, simply add more of the corn meal.  If you increase your measure of the polenta to 2 cups and pour it onto a sheet pan and allow it to cool, it can be used for seared, fried or grilled polenta, both very nice.  However if you are to grill the polenta, think about minimizing the butter and cheese  to present a better product as these will make it more difficult to achieve good grill marks. 

Friday, March 30, 2012

Collard Greens are a Real Winter Treat


Collard greens are a real winter treat that I learned to cook when I worked at the Fairmont Hotel in San Francisco.  We didn't sell them of course, the restaurant that I worked in was VERY high end and would never have sold a plate of them to our clientele.


Most of our guests at Masons (that was the name of the restaurant) had very black and white ideas about food and ingredients.  There were just some things that they refused to eat.  Many of them had been children during the depression and had eaten so much of a few items during that time that they steadfastly refused to eat them at the restaurant.  
Black eyed peas come to mind when I think about this.  A comment from one guest about black eyed peas was something along the lines of "all we ate for three years was black eyed peas, god help me but even if I live to be 100, I will not eat them ever again!"
So our special with black eyed peas went down in the flames of our confusion.
We had a line cook at the restaurant named Will.  A black man from the south.  On New Years Day, he cooked black eyed peas and greens for the entire restaurant staff.  All 600 of us.  He said that black eyed peas and greens on new years day would bring good luck.  This was the first time that I had eaten the dish and wow! It was great!
I talked to him about his recipe and he said that he didn't really have one, but he had some greens left over so he would show me what he did.  The following is basically what he showed me with a few alterations of my own.
By the way, since I mentioned black eyed peas, I now want to eat some, so I'll do that soon.
Today for dinner I made collard greens for our vegetable.  They used to be super cheap, but lately it seems that people have figured out how good they are...good for you and great tasting, so now, they cost more.  Funny how that works.


I started with two large bunches of collard greens and separated the stems and thickest part of the ribs from the leaves.  


Next wash them thoroughly in cold water and place into a colander to drain.


I had an end to one of my home made bacon pieces that needed to be cooked, so I cut that into medium sized chunks and started to render them in a pan.  


The idea is to get the pieces a bit crispy and make them release some of the delicious fat.  When they are a little crispy but also a little meaty still, add the onion.


If you don't have home made bacon, go and get some really good stuff.  Not the packaged grocery store kind, go to a butcher or really good grocery store and get some thick cut smokey bacon.


I then added some diced red onion.  The only reason I used red onion is because I had some lying about in the fridge, in retrospect, it was a perfect decision.  I did it for efficiency, but a yellow onion would not have delivered as good a final product.  So now I say, "use red onion, you will not be disappointed." 


I sautéed this for a few minutes, maybe five?  When the onions are slightly translucent, add the greens.  It is fine if they are still a little bit wet.  I use a very large sauté pan for this one because the greens are huge when they are raw.  


I like to keep medium heat on them for a bit and turn them in the bacon and onions until they begin to wilt.


Add a little kosher salt, maybe 2-3 teaspoons, and cover with a lid.  Turn the heat way down and let it roll for a while.
While the greens are cooking, they will release a fair amount of moisture.  It is important to leave the moisture in the pan because this is one of the elements that cooks the greens and also this liquid is absolutely packed with flavor.
Remember to check the pan every 10 minutes or so to stir the greens so that none of them burn.
After the greens have been cooking in the pan for about 20-30 minutes, give them a taste.  They should be tender by this time and most of the liquid will have evaporated.
Turn them off and hold them for service.


When it is time to serve them, remove the lid and turn the heat on low to let the rest (or most of the rest) of the liquid cook off.  Taste them again and adjust the seasoning, they'll be delicious! 

Thursday, March 22, 2012

Gluten Free Tabbouleh


It seems that the more you look around, the more you see gluten free products.  Is there an exploding community of people that are unable to process gluten?  Or is it some fad?  As a die hard bread lover I am sad to say it does not seem to be a fad.
But what is causing it?  What is the solution to this culinary dilemma?  


The cause, it has been suggested by some, (note: I'm not an expert, but the reasoning sounds good to me) is that we have been altering our foods so quickly in the name of higher yields and pest resistance that the wheat that is grown in the United States today bears little resemblance to that grown even at the beginning of the last century, at least to our digestive tracts.
Some of us do pretty well with the new wheat, some do not.  After all, wheat has changed radically, our bodies not so much.  Why is it that my wife can eat baguettes in Europe, but at home she gets a headache?  Hint: it's not the yeast.
So what is a gluten intolerant person to do if they still want to eat, say, tabbouleh?
The answer is Quinoa.  A tiny South American grain first domesticated about 4000 years ago, probably first eaten by man some 7000 years ago!  


Here's the kicker, the quinoa available today is almost identical to 4000 year old specimens.  Our bodies know it well and therefore have no issues with it.
When i first worked with quinoa none of us could even pronounce it correctly, it was years before someone straightened me out.  We all called it (keen-oh-ah), really it's pronounced (keen-wah).  I first tried quinoa when I was a sous chef and I had an amazing experience that I have not experienced before or since, after my first few bites of this new product, it felt like my body was saying "this is good for me".  Sound hippy-dippy, but it happened.  Once.  Ever.
So he is my recipe for gluten-free tabbouleh made with quinoa:
1 C quinoa
3 C water
2 tsp kosher salt - for the cooking process
2 Roma tomatoes - diced
2 bunch of parsley chopped fine
1/2 C Red Onion 
10 or so mint leaves chopped fine
3 oz extra virgin olive oil
3 oz lemon juice
Kosher salt and pepper to taste
The method is simple:
Place the quinoa, water and first measure of salt in a sauce pan, bring to a boil, reduce to a simmer and let it roll until almost all of the water is gone.  


Test it periodically to see if the quinoa is done earlier than expected.  Drain in a sieve, we don't want any of the water that remains.

If you are in a hurry, put the quinoa onto a sheet pan for it to cool more quickly.

While the quinoa is cooling, chop the parsley.  I like my tabbouleh to be parsley heavy.

Dice the tomatoes and red onion and add them to the parsley.


Once the quinoa has drained and cooled to room temperature add it to the parsley mixture.


 olive oil, scallions and lemon juice.  Taste and adjust your seasoning.  The last thing to add is the mint.  I add it last because it bruises so easily.  
Refrigerate and hold for service.  It's good the first day, better the second, on the third day and afterward all bets are off.  Still really good, but the second day is the best.
Oh, and I think it's better served cold.  Just my opinion. 

Tuesday, March 20, 2012

Schmaltz and Latkes!


What is schmaltz and what is it good for?  


There has been a lot of talk lately, or at least mentions on menus of schmaltz.  Usually it is used to describe potatoes cooked underneath spit-roasted chicken.  What kills me is it has recently been presented as a new way to cook potatoes.  There is nothing new about schmaltz.
Schmaltz has been used for centuries by the Jewish community and I assume other groups that do no eat pork as a cooking fat that was acceptable for their dietary constraints.
When I looked up schmaltz on Wikipedia it mentioned goose fat as well as chicken fat.  It also mentioned a vegetarian schmaltz that I did not read as it made no sense whatsoever to me.
When I cut up a chicken for grilling etc, there are often reasonably large masses of fat in the opening to the body cavity and also to a lesser extent around the neck.  I remove these and put them in small containers destined for the freezer.  I usually continue on this thread until my wife says "Mike, we have enough chicken fat.  Stop!"
Since this statement was recently heard several times, it is time to make some schmaltz and latkes!  Just in time for Easter/Passover or maybe just because I want to eat latkes.  I never knew that chicken fat would help make something so delicious.
I did not experience true schmaltz cooked latkes until I was the executive chef of the Canterbury Hotel in San Francisco.  One of the owners, Dean Lehr, adamantly insisted that he cook the latkes that we were to have on the Easter buffet.  Dean and I rarely saw anything eye-to-eye, especially about food, but his latkes were yummy.
I never did get his recipe for them but have found some good recipes to work from since I left the hotel.  
But I am putting the cart before the horse.  Let's make schmaltz.
I have before me a bazillion small containers of chicken fat that will soon be rendered.  Most of the descriptions that I have found call for the fat to be cut into small pieces.  I find this unnecessary.


Place the chicken fat into a small sauce pan with a little water, 8 oz or so.  


Turn the burner on low.  Not a simmer, but just a little above that.  The water will evaporate long before the fat has completely rendered.


It is important that the temperature below enough to render the fat without coloring the final product.  


What we're looking for here is a white solid mass when the schmaltz is cold.
Let it roll for a while, maybe 20-40 minutes or so depending on how much chicken fat you have.  I had a bunch, so it took about an hour.  Remember to stir it from time to time.  It is ok for the solids brown a bit while this process rolls forward.
Once you have rendered all the fat it should look like this.


Strain the fat into containers for storage.


For the latkes here is the recipe:

1 lb Russet Potatoes peeled
1/2 yellow onion
2 eggs
2 Rice Flour (for Gluten Free) or 2 T all-purpose flour (for regular)
Kosher Salt
Pepper
For the purpose of my family I will be using rice flour, if gluten-free isn't your deal, use all purpose flour in its place.
Peel the potatoes and rinse them to stop discoloration.  


Shred them with a box grater.


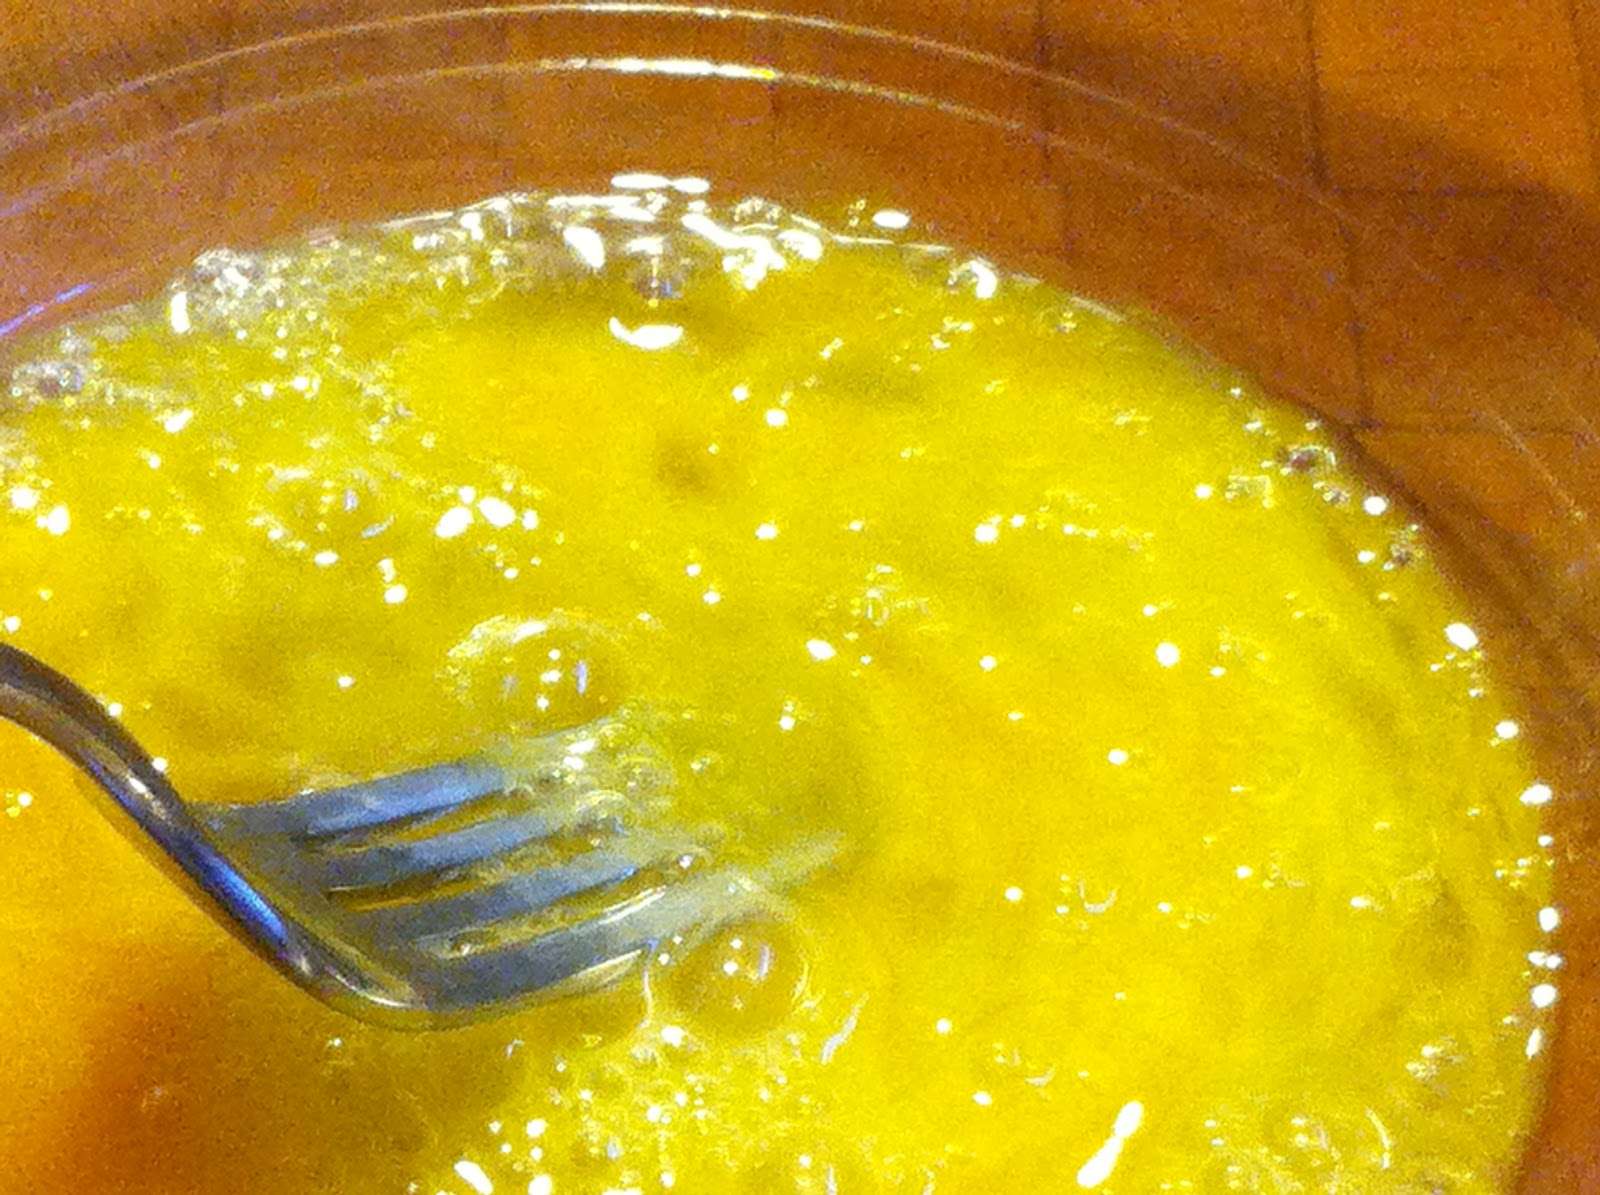
Crack the eggs and whip them.


Grate the onions with the box grater.

Squeeze the extra starch and water from the potatoes. 


Add the onions, flour, egg, salt and pepper.


Put a little schmaltz in the pan, 


grab a handful of the potato mixture, squeeze it to remove extra liquid and put it in the pan.  


You can cook 4-5 latkes at the same time in a 10-12 inch pan.


Once the bottom has browned a bit, turn them over with a spatula and cook the other side.


You can hold these hot or save them for reheating later.


Serve them with sour cream or Creme fraische.  If you have gravlax, that is also a traditional accompaniment.  Actually the latkes are an accompaniment for the gravlax.  I'll write about gravlax as soon as the salmon run starts in a couple of weeks.